How to Install a Drip Irrigation System Yourself?

Drip irrigation is an efficient way to water your plants, delivering water directly to the roots where it’s needed most. Installing a drip irrigation system yourself can save you time and money while ensuring your garden stays healthy and hydrated. In this article, we will guide you through the steps to set up a drip irrigation system in your garden.
Planning Your Drip Irrigation System
Before you start digging or laying out pipes, it’s important to plan your drip irrigation system. Take some time to assess your garden’s layout and the water needs of your plants. Consider factors such as the type of plants you have, the slope of your garden, and the water pressure available.
Choosing the Right Components
When it comes to drip irrigation systems, there are a variety of components to consider. These include tubing, emitters, connectors, and a filter. Make sure to choose high-quality components that are suitable for the size of your garden and the types of plants you have.
Preparing the Area
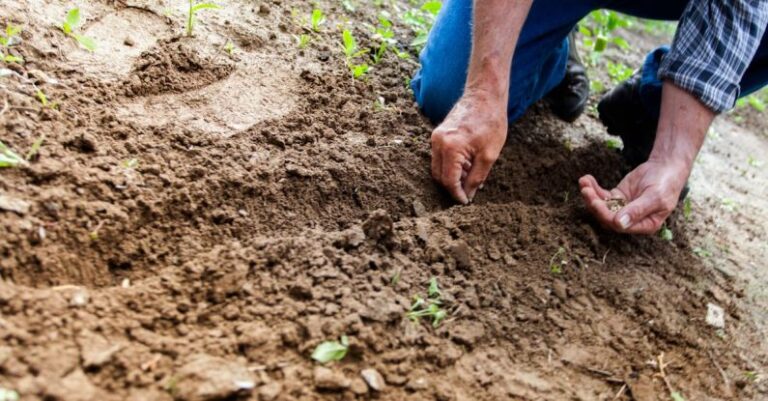
Once you have your components ready, it’s time to prepare the area where you will be installing the drip irrigation system. Clear any debris or obstacles from the garden bed and ensure the soil is well-tilled and free from rocks or roots that could damage the tubing.
Laying Out the Tubing
The next step is to lay out the tubing in your garden. Start by connecting the tubing to your water source, whether it’s a faucet or a hose bib. Lay the tubing along the rows of plants, making sure to secure it in place with stakes or clips to prevent it from shifting.
Installing Emitters
Emitters are the components that deliver water directly to the base of your plants. Depending on the type of plants you have, you can choose from different types of emitters, such as drippers, bubblers, or micro-sprayers. Install the emitters at the base of each plant, ensuring they are positioned close enough to provide adequate water coverage.
Adding a Filter
A filter is an essential component of a drip irrigation system, as it helps prevent clogging and ensures the water flowing through the system is clean. Install a filter between the tubing and the water source to protect your emitters and tubing from debris and sediment.
Testing the System
Once you have installed all the components of your drip irrigation system, it’s important to test the system to ensure it is functioning properly. Turn on the water source and check for any leaks, clogs, or areas where the water distribution may be uneven. Make any necessary adjustments to ensure optimal water flow to all your plants.
Maintaining Your Drip Irrigation System
Regular maintenance is key to keeping your drip irrigation system in top condition. Check the system periodically for leaks, clogs, or damage to the tubing or emitters. Adjust the water flow as needed to accommodate changes in your garden, such as new plantings or seasonal variations in water requirements.
Incorporating a Timer
For added convenience and efficiency, consider incorporating a timer into your drip irrigation system. A timer allows you to schedule watering times and durations, ensuring your plants receive consistent and appropriate amounts of water without the need for manual intervention.
In conclusion, installing a drip irrigation system yourself is a rewarding project that can benefit your garden in numerous ways. By following these steps and guidelines, you can create a customized watering solution that will help your plants thrive while conserving water and minimizing waste. Take the time to plan and set up your drip irrigation system properly, and enjoy the benefits of a healthier, more efficient garden.


