How Can You Make Diy Play Dough at Home?
Who doesn’t love play dough? It’s a versatile, colorful, and squishy substance that provides hours of entertainment for children of all ages. But did you know that you can easily make your own play dough at home with just a few simple ingredients? In this article, we will explore how you can whip up a batch of DIY play dough that is safe, non-toxic, and fun to play with. Let’s get started!
### Gather Your Ingredients
The first step in making your own play dough is to gather all the necessary ingredients. You will need:
– 2 cups of all-purpose flour
– 3/4 cup of salt
– 4 teaspoons of cream of tartar
– 2 cups of water
– 2 tablespoons of vegetable oil
– Food coloring of your choice
### Mix Dry Ingredients
In a medium-sized saucepan, mix together the flour, salt, and cream of tartar. These dry ingredients will form the base of your play dough and give it the right consistency. Make sure to stir them well to ensure they are evenly combined.
### Add Wet Ingredients
Next, add the water and vegetable oil to the saucepan with the dry ingredients. Stir everything together until the mixture is smooth and free of lumps. This step is crucial to ensure that your play dough has the right texture and elasticity.
### Cook the Mixture
Place the saucepan over low heat on the stovetop and continue to stir the mixture as it heats up. The play dough will begin to thicken and come together as you cook it. Keep stirring to prevent any clumps from forming and to ensure that the play dough cooks evenly.
### Add Color
Once the play dough reaches a dough-like consistency, remove it from the heat. Divide the dough into as many portions as you want and add a few drops of food coloring to each portion. Knead the dough until the color is evenly distributed and you achieve the desired shade. You can get creative with different colors and combinations to make your play dough unique and vibrant.
### Store Properly
After you have made your DIY play dough, be sure to store it properly to keep it fresh and pliable. Store each color in an airtight container or a zip-top bag to prevent it from drying out. Proper storage will ensure that your play dough lasts for weeks and remains ready for playtime whenever you want.
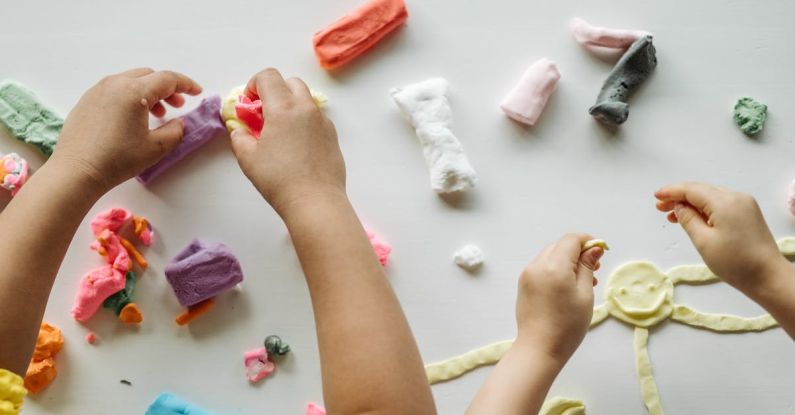
### Playtime Fun
Now that you have your homemade play dough ready, it’s time to let the fun begin! Set up a play area with cookie cutters, rolling pins, and other fun tools to inspire creativity and imagination in your little ones. Play dough is a great sensory activity that can help children develop fine motor skills and engage in open-ended play.
### Experiment with Add-Ins
Another exciting aspect of DIY play dough is that you can experiment with different add-ins to enhance the sensory experience. Consider adding glitter, scents, or even small toys like beads or sequins to your play dough to make it even more engaging and interactive. Encourage your children to explore and create with these add-ins to spark their creativity.
### A World of Possibilities
Making DIY play dough at home is a simple and enjoyable activity that can provide endless hours of entertainment for children. By following these easy steps and getting creative with colors and add-ins, you can create a personalized play dough experience that is both fun and educational. So, gather your ingredients, roll up your sleeves, and start crafting your own batch of play dough today!