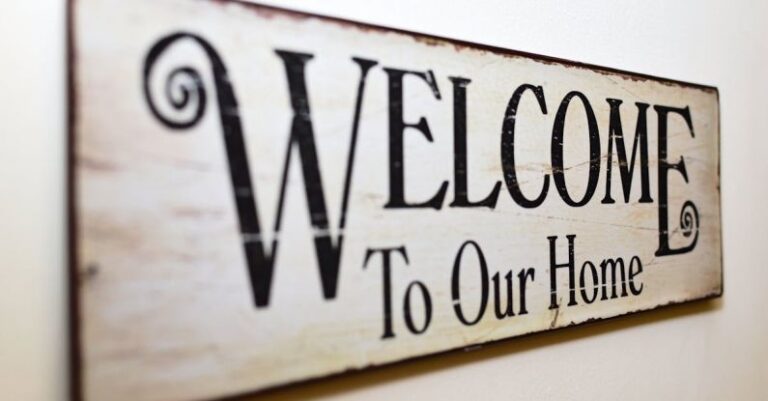
How to Make Diy Party Invitations?
Crafting your own party invitations can add a personal touch to your event and set the tone for a memorable celebration. DIY party invitations are not only cost-effective but also allow you to unleash your creativity and customize them to suit the theme and style of your party. In this guide, we will explore how to make DIY party invitations that will impress your guests and make your event truly special.
Choose a Theme
Selecting a theme for your party invitations will help guide your design process and ensure that all elements of the invitation align with the overall vibe of your event. Whether you are hosting a birthday bash, a baby shower, a bridal shower, or any other type of celebration, choosing a theme will provide a cohesive look and feel for your invitations.
Materials Needed
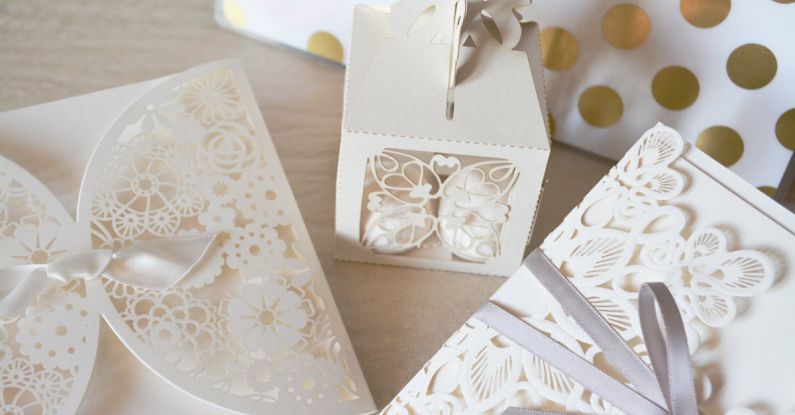
To create your own DIY party invitations, you will need a few basic materials such as cardstock or decorative paper, scissors, glue or double-sided tape, markers or pens for writing, and any embellishments you wish to add such as stickers, ribbons, or stamps. Additionally, if you want to incorporate digital elements into your invitations, you may need access to design software or online templates.
Design Layout
The layout of your party invitations plays a crucial role in determining the overall aesthetic appeal of the final product. Consider the placement of text, images, and any decorative elements to create a visually appealing design. Experiment with different arrangements until you find a layout that complements your theme and captures the essence of your event.
Personalize with Handwriting
Adding a personal touch to your DIY party invitations can be as simple as incorporating handwritten details. Whether you choose to handwrite the recipient’s name, a heartfelt message, or the event details, your handwriting can add warmth and authenticity to the invitation. If you are not confident in your handwriting skills, consider practicing on a separate sheet of paper before writing on the actual invitations.
Get Creative with Embellishments
Embellishments are a fun and easy way to enhance the visual appeal of your DIY party invitations. Consider adding stickers, ribbons, glitter, or stamps to embellish your invitations and make them stand out. Be mindful not to overdo it with embellishments, as a cluttered design may detract from the overall look of the invitation.
Incorporate Digital Elements
If you prefer a more polished look for your DIY party invitations, consider incorporating digital elements into your design. You can create custom graphics, use online templates, or add digital overlays to enhance the visual appeal of your invitations. Digital elements can help you achieve a professional-looking result while still allowing you to personalize the design to suit your style.
Assemble and Send
Once you have completed the design and customization of your DIY party invitations, it’s time to assemble them and prepare them for mailing. Carefully cut out each invitation along the designated lines, fold them if necessary, and secure any loose ends with glue or tape. Double-check that all event details are accurate before addressing and sending out your invitations to your guests.
Final Thoughts
Creating DIY party invitations is a fun and rewarding way to add a personal touch to your event planning process. By following these simple steps and unleashing your creativity, you can design unique and memorable invitations that will impress your guests and set the stage for a truly unforgettable celebration. Whether you are hosting a small gathering or a large party, DIY invitations are a great way to showcase your creativity and make your event one to remember.