How Can You Create a Diy Photo Wall?
Creating a DIY photo wall is a fantastic way to add a personal touch to your space and showcase your favorite memories. Whether you’re looking to spruce up your living room, bedroom, or home office, a photo wall can be a unique and visually appealing addition to any room. With a little creativity and some basic materials, you can easily create a stunning display that reflects your personality and style.
Choosing the Right Space for Your Photo Wall
Before you start creating your DIY photo wall, it’s essential to choose the right space in your home. Consider areas that could benefit from a personal touch, such as a blank wall in your living room or a hallway that needs a decorative element. The key is to select a space that will allow your photo wall to be a focal point in the room without overwhelming the overall decor.
Selecting Photos and Frames
The next step in creating a DIY photo wall is selecting the photos you want to display. Choose a mix of personal photos, artwork, and other memorabilia that hold special meaning to you. Consider incorporating different sizes and orientations to add visual interest to your display.
When it comes to choosing frames for your photos, you have a variety of options to consider. You can opt for matching frames for a cohesive look, mix and match different frame styles for a more eclectic vibe, or even go frameless for a modern and minimalist aesthetic. Whichever option you choose, make sure the frames complement your photos and the overall design of the room.
Arranging Your Photo Wall
Once you have selected your photos and frames, it’s time to arrange them on your wall. Before you start hammering nails, lay out your photo wall on the floor to experiment with different arrangements. You can try a grid layout for a clean and symmetrical look, a salon-style arrangement for a more eclectic feel, or a linear display for a modern touch.
As you arrange your photos, pay attention to spacing and balance to ensure a visually appealing result. Consider using a level to keep your photos straight and evenly spaced. Don’t be afraid to play around with different layouts until you find one that you love.
Hanging Your Photos
After you have finalized your photo wall layout, it’s time to hang your photos on the wall. Start by marking where you want each photo to be placed using a pencil or painter’s tape. If you’re using nails to hang your frames, make sure to measure the distance between each frame accurately to ensure a uniform look.
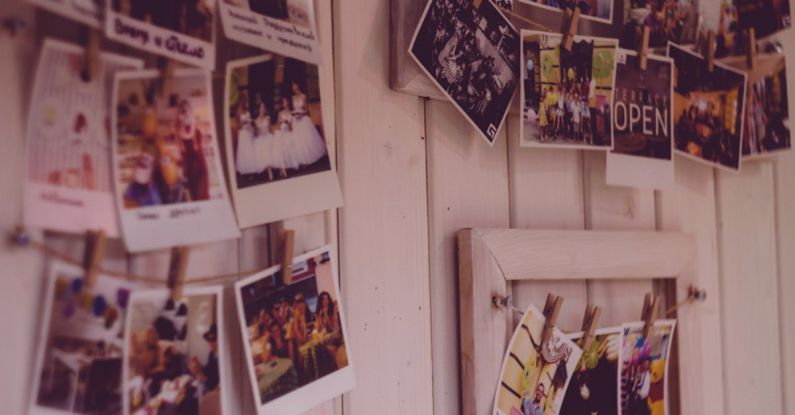
If you prefer a more flexible option, consider using adhesive strips or hooks to hang your photos. These can be easily adjusted and removed without damaging your walls, making them a great choice for renters or those who like to change up their decor frequently.
Maintaining Your Photo Wall
Once you have created your DIY photo wall, it’s essential to maintain it to keep it looking its best. Dust your frames regularly to prevent buildup and preserve the quality of your photos. If you notice any damage or wear, be sure to replace frames or photos as needed to keep your display fresh and vibrant.
In conclusion, creating a DIY photo wall is a fun and creative way to personalize your space and showcase your favorite memories. By choosing the right space, selecting photos and frames that reflect your style, arranging them thoughtfully, and hanging them with care, you can create a stunning display that will be the highlight of any room in your home. So gather your photos, roll up your sleeves, and get ready to transform your walls into a beautiful gallery of memories.